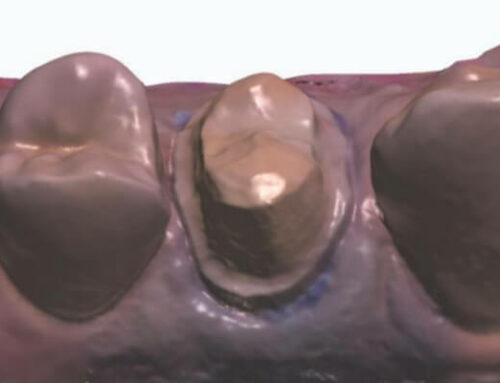
Now we are having more and more All on 4 dental implant cases (to be specific Malo bridge in this example), because they are a great replacement for long dental implant bridges. Today we will use a real case example to show you how we make Malo bridge implant case, so you can have a better idea on what to prepare for such cases.
1. A real case example
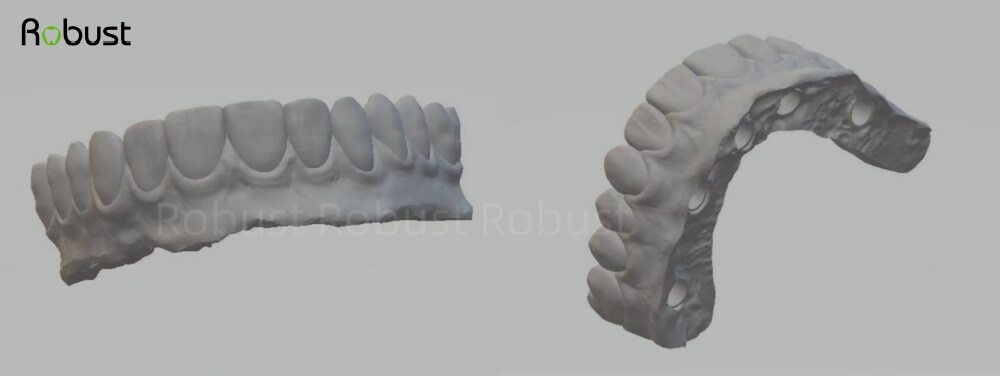
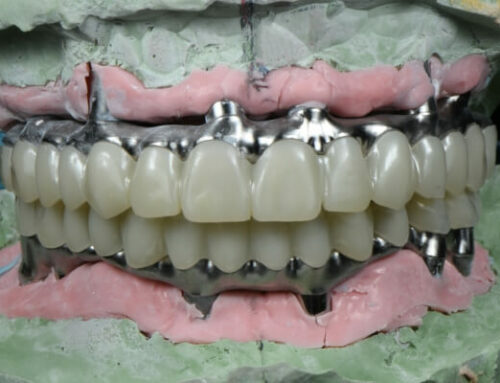
All on 5 full zirconia bridge
One customer had a big implant case. It was suppose to be a long porcelain zirconia bridge. She even made a design herself. Then she asked us to mill the bridge and apply porcelain, because she has been a big fan for beautiful porcelain work.
Once we saw the design, we suggest to change for a Malo bridge. The reason was simple: the implant bridge was long and very high, so it would be very heavy. If we tried to mill a long zirconia bridge, it was very likely to break even during fabrication. Also, it was easy to break after it was in the patient’s mouth. If it broke, we would have to remake the whole bridge again.
However, a Malo bridge would be strong but much more light-weight. Besides, the whole bridge consists of single crowns, so it is much easier to fix the bridge if one or two crowns break. The dentist even does not have to remove the whole bridge. After hearing our suggestions, the customer agreed to make a Malo bridge.
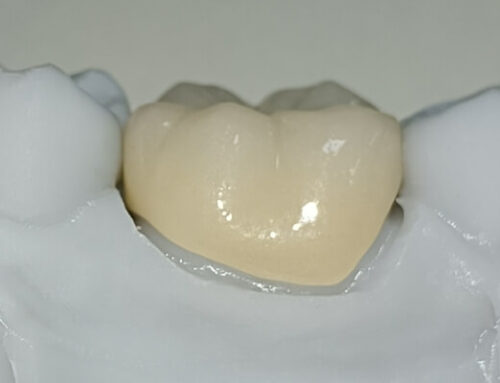
2. Important notice for big implant cases
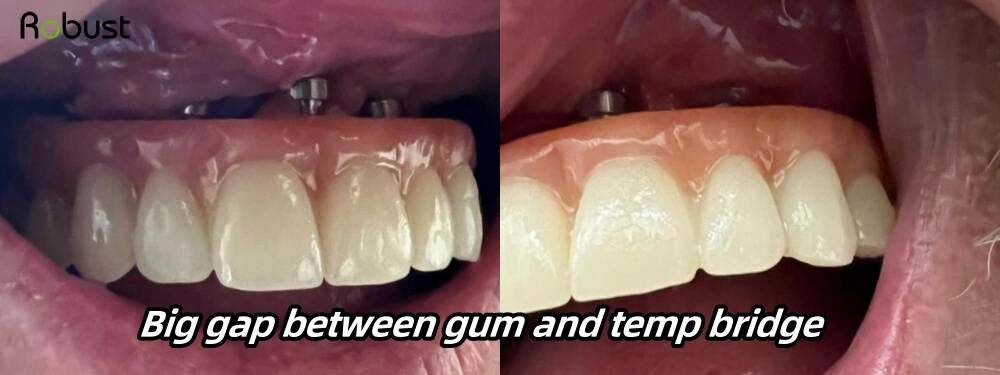
All on 5 temporary PMMA bridge
Very important notice: we were happy to learn that the patient was wearing a temporary bridge. On the pictures, we could see the gum had recessed, so there was a big gap between the gum and the bridge. But it was not problematic, since it was just a temporary bridge. We could fix that when it was time for a permanent bridge. That was why we always suggest to make a temporary bridge first.
3. Testing fitting and bite
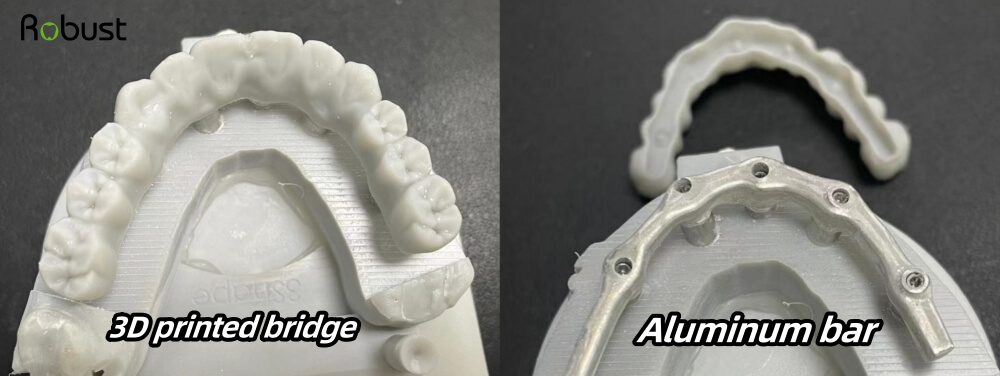
Aluminum bar and 3D print bridge dental
Very soon, we received upper and lower digital scans with bite. For the first time, we made an aluminum bar and a 3D printed resin bridge. The aluminum bar was to try fitting, while the printed resin bridge was to try bite. This process took 5 days to finish, because we sent our customer the design for approval.
4. Making adjustments for mid-line
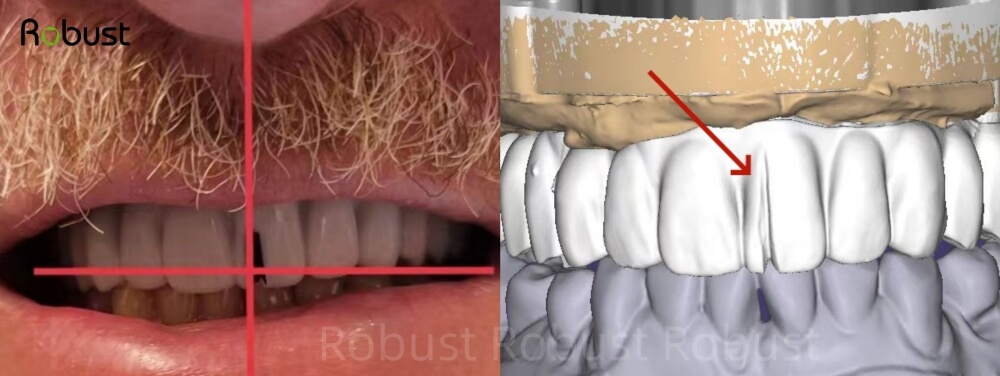
Adjust midline for the implant case
About 10 days later, the dentists tried fitting and bite. The fitting and bite were great, but the mid-line required adjustment. The dentist marked a new mid-line and took some pictures. Then our customer shipped everything back to us, including the 3D printed models, the aluminum bar, the 3D printed bridge and a new bite registration. We also received pictures with the correct mid-line.
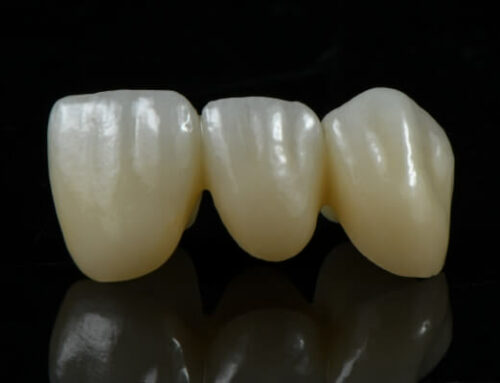
5. Making permanent restoration
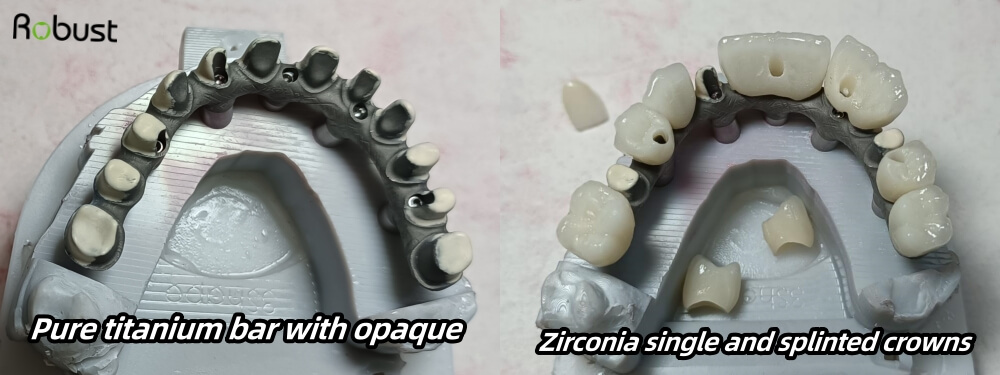
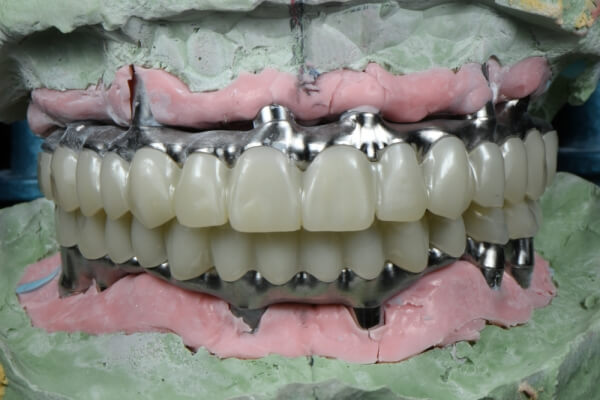
Titanium bar and zirconia porcelain crowns
Now it was time for the permanent restoration. With the new bite and the picture from our customer, we milled a pure titanium bar this time, and we applied opaque to cover the metal color. Then we started to make porcelain crowns. We used new bite and the picture from our customer, and made porcelain zirconia crowns with correct mid-line. Please note we made splinted crowns for the 2 front teeth and the 2 lateral teeth, because the 2 screw holes did not allow to make single crowns for those areas.
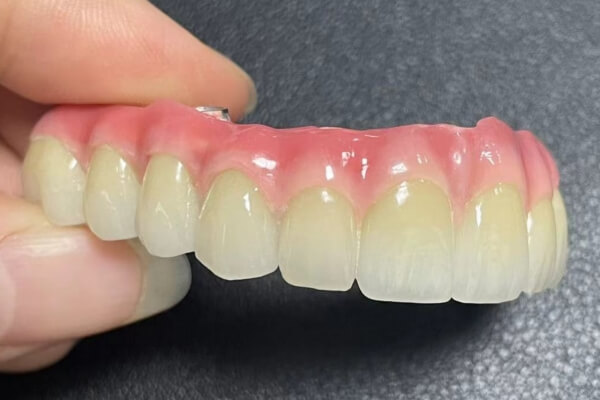
6. Conclusion
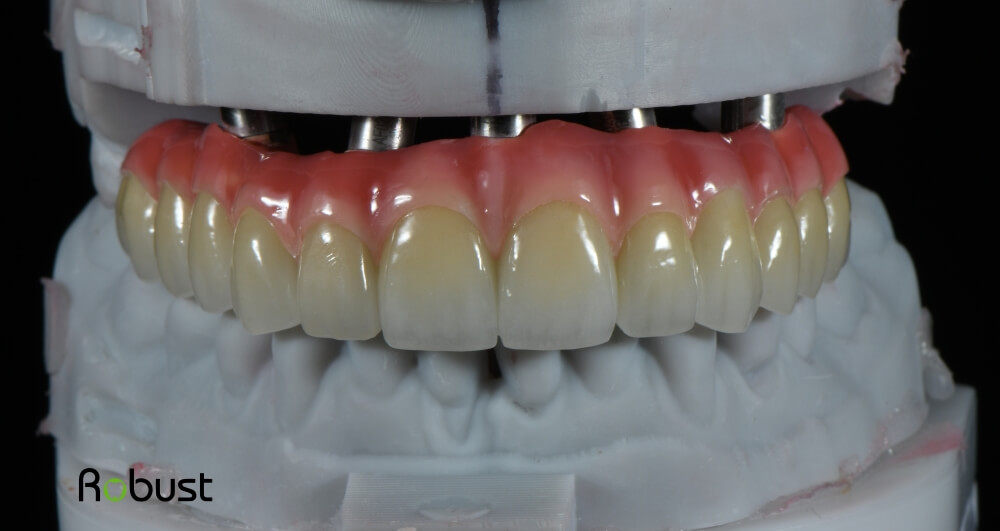
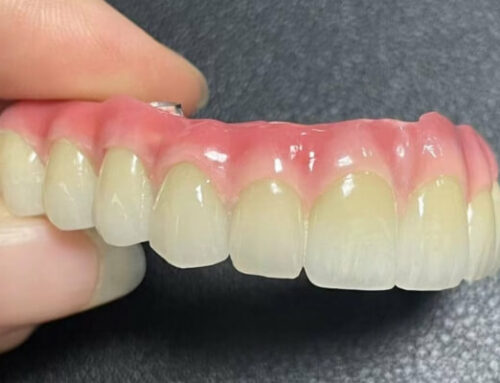
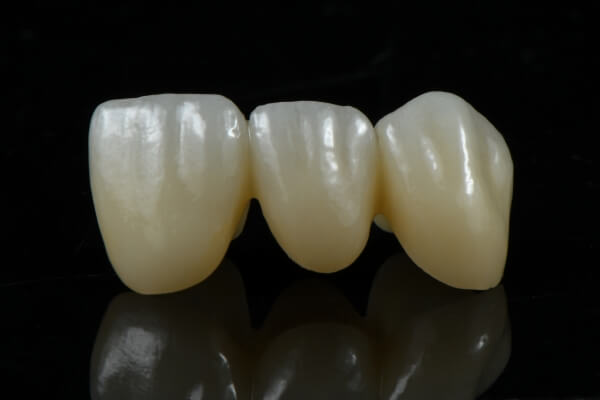
Malo dental bridge
Finally, the composite resin was applied on the gum area. The work was done, and both our customer and patient liked the work very much.