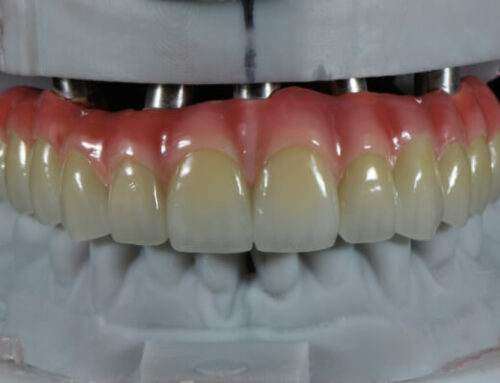
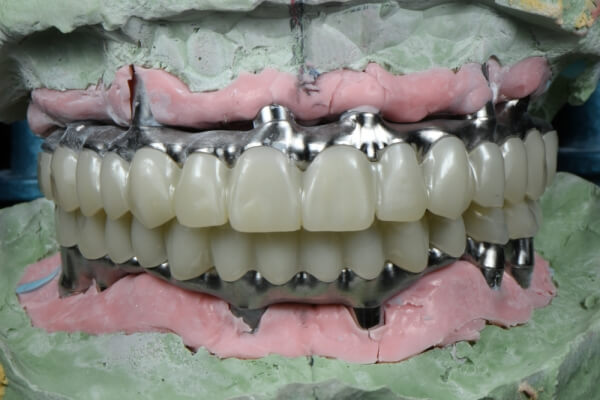
We recently processed a case of E.max dental crowns and veneers. It was from a dentist in Australia. The doctor was very professional and demanding about quality for dental cases. Thankfully, she loved to communicate, which was essential for creating a nice case. Let’s display the final work first.

emax anterior crown
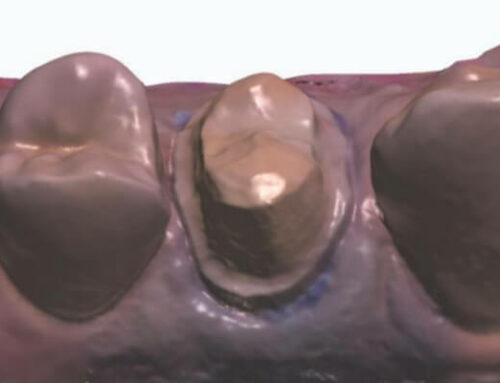
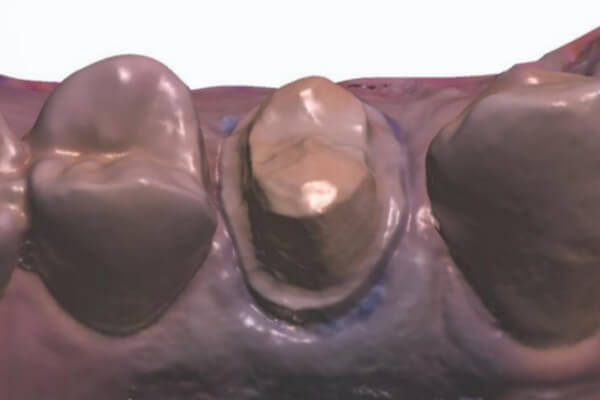
1. Receiving instructions and picture
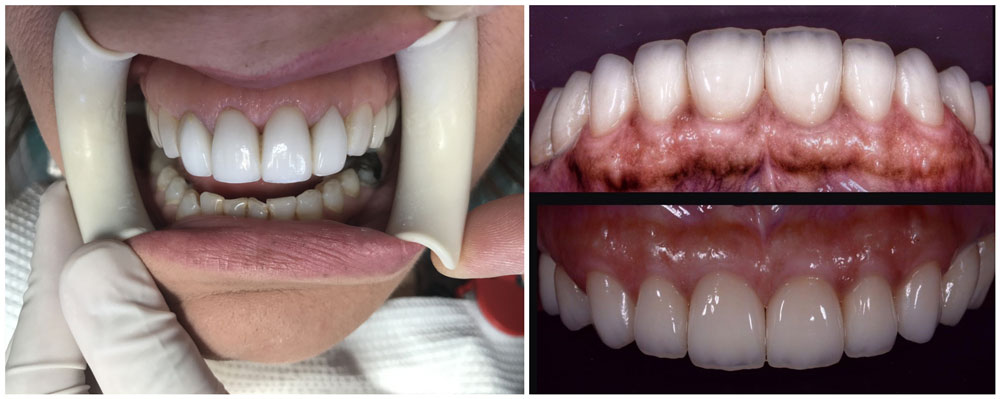
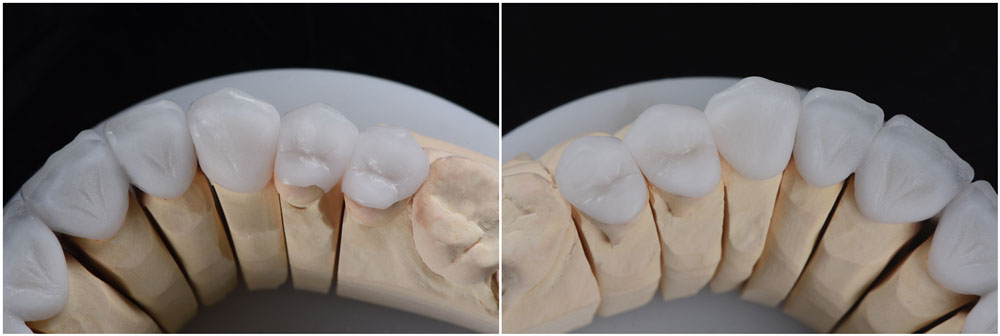
emax crowns before and after
It was great that we received detailed instructions about the case. Also, we had a picture to check the patient’s teeth. The dentist even sent a reference picture to show what she wanted. Therefore, our technicians could learn what kind of anatomy and shade were the best. In fact, we suggest all our customers to send clinical pictures.
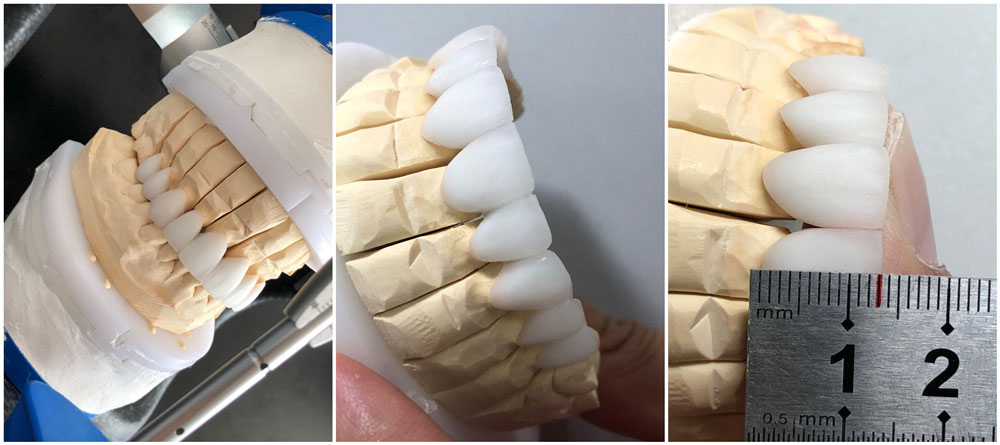
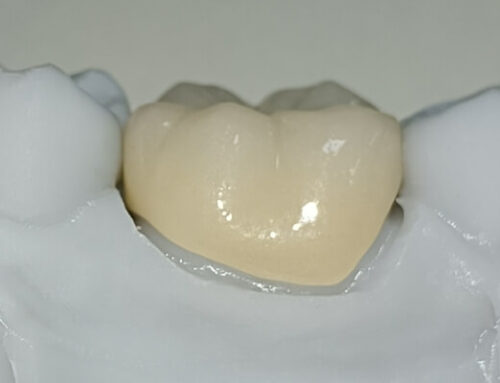
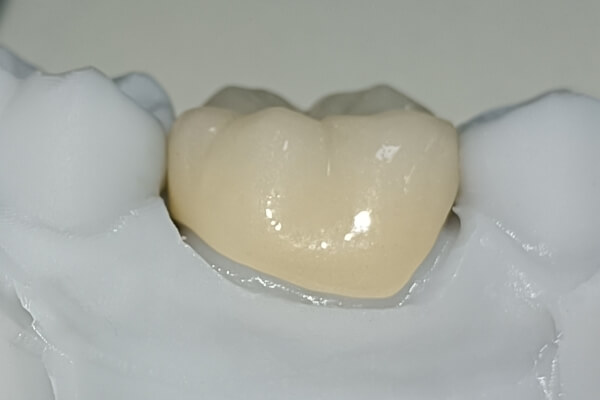
2. Sending pictures for approval
The bite registration from our doctor was good, so we could directly finish the work. We sent pictures by email 2 days later, as requested. Those pictures were just for an overview of the work, for the dentist to check occlusion and length. It was to make sure we were strictly following her requests. Pretty soon, we got an email requesting more photos from more angles.
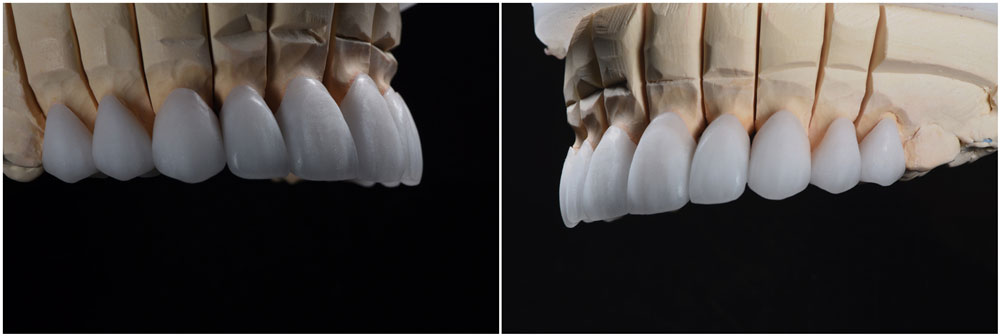
3. Sending more photos
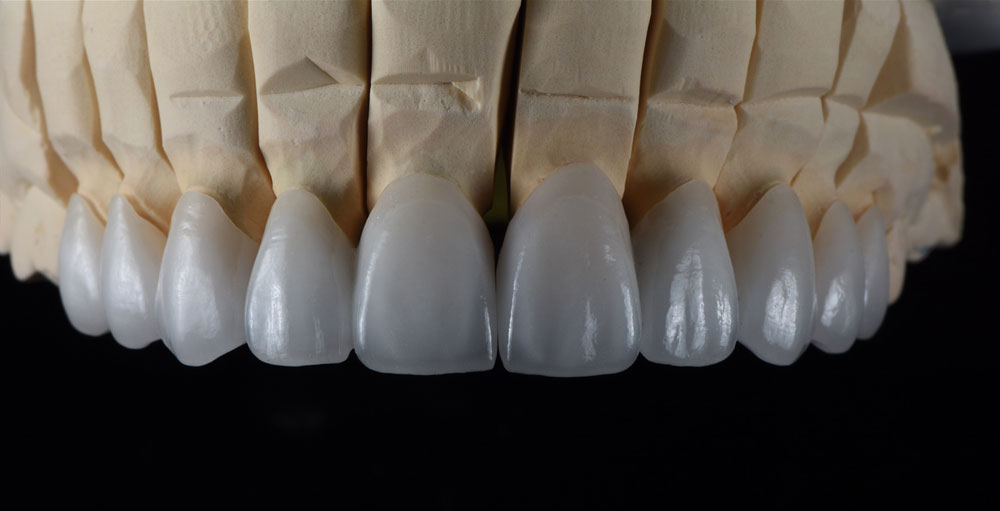
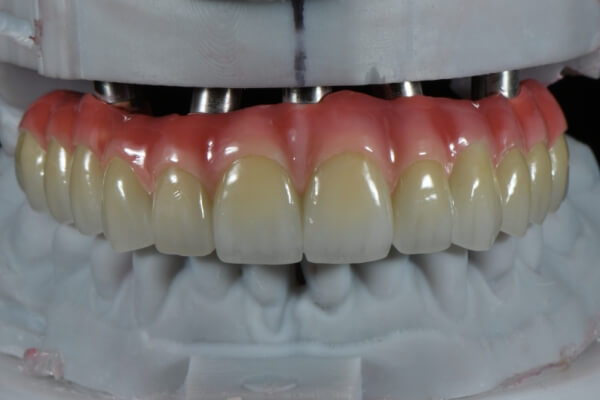
This time, we had worked more details and sent more pictures displaying virtually all angles.
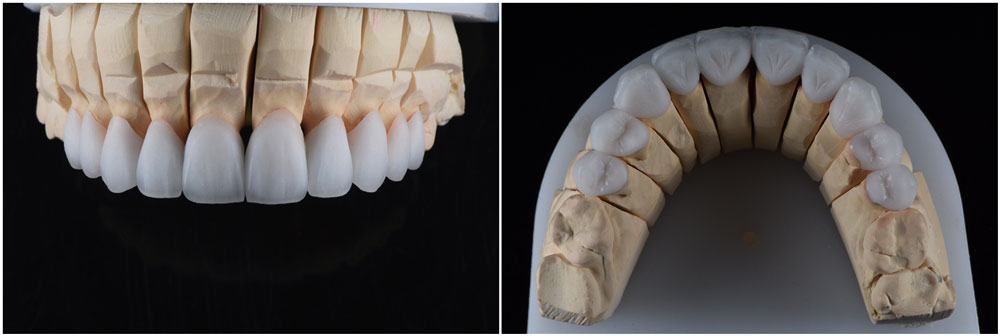
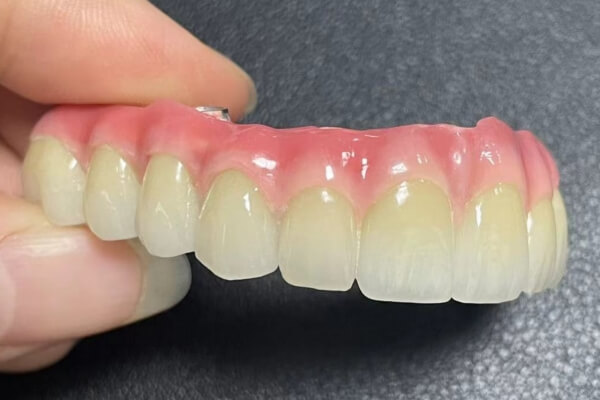
4. Satisfied with our work
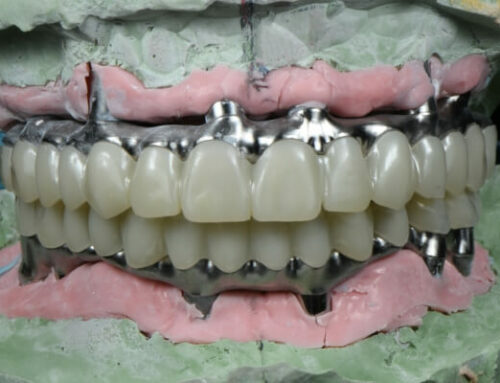
Very soon, we got approval to finsih the case. Finally, the case was finished in 7 days, and the dentsit was very happy with the work. We’ve got to admit that creating beautiful cases is not easy. It requires communication. This customer was very patient and willing to tell us what she wanted. That’s how we can have this work.
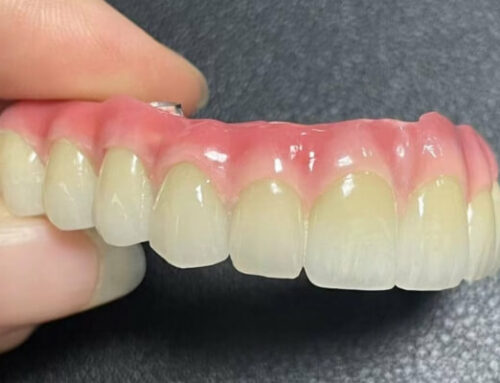
emax for teeth